I just spent an hour Googling around for this because half the tutorials out there are for older versions of GIMP, so they no longer work!
But I needed some quick gold and silver textures — and this technique works for silks, as well.
Here’s how to do it.
Create a new image, sized the way you want it. Mine is 512 by 512.
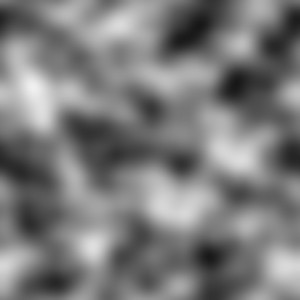
Then go to Filters -> Render -> Clouds -> Solid Noise. Set X and Y both to “5” and click on “Tileable.”
This is what you get:
Then go to Colors -> Brightness-Contrast  and set the “Contrast” slider to 25. Then go to Filters -> Blur -> Gaussian Blur — I set both X and Y to 10.
This is what you get:
Now pick a gradient in the Gradient Dialog window, circled in red below.
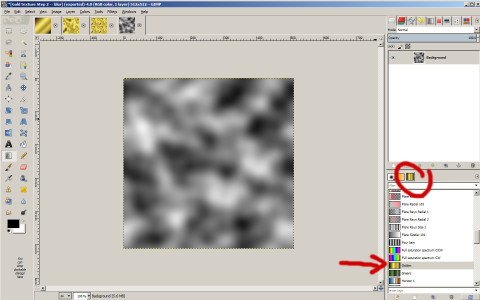
If your screen doesn’t look like mine, but has separate docks hanging out all over the place, go to Windows -> Single-Window Mode. This way, you won’t be losing your tool boxes all the time. But maybe it’s just me.
Then go to Colors -> Map -> Gradient Map.
This is what you get:
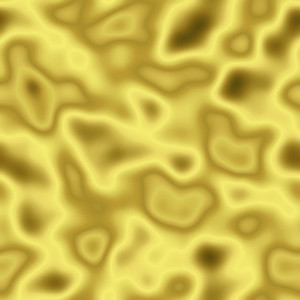
(Click on the image for full-sized version.)
You can make different versions of this by picking different gradients in the gradient dialog box.
For example, you can make a nice silky effect by picking the “Four bars” or “Three bars sin” gradients.
Here it is with the “Three bars sin” gradient:
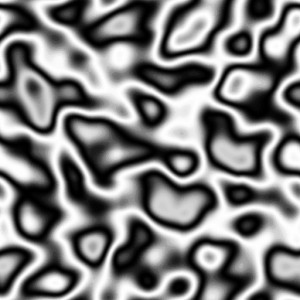
That makes for a nice, silky effect. Now if it was only in color…. which brings me to the last kind of gradient — one of the most useful ones of all, the foreground-to-background gradient.
First, change your foreground and background colors.
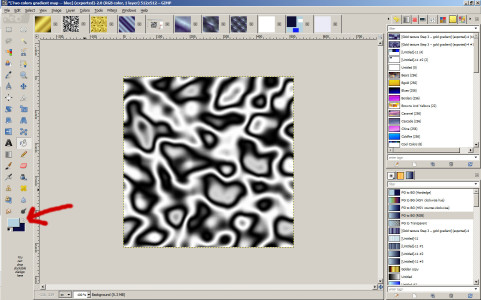
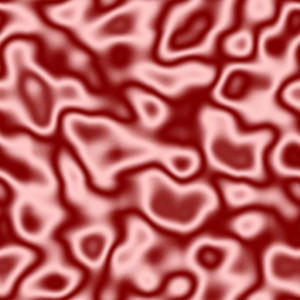
I chose a dark red as my background color, and a light shade of the same color for the foreground.
Then I selected the “FG to BG” gradient, which is fourth from the top, and clicked on Colors -> Map -> Gradient Map again. Ta da!
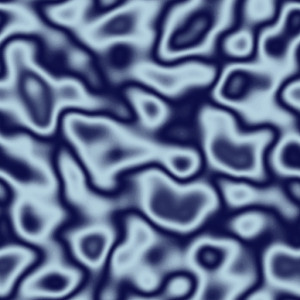
Here it is again, this time with a dark blue and light blue combination:
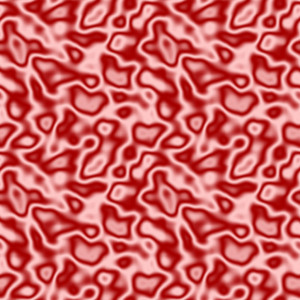
But, you might ask — is it still tileable after applying all these gradients? It should be. Let’s check. I go to Filters->Map->Tile and choose 1024 as the new height and width.
And here’s the result:
So tileable is a definite go. I might pick a different cloud pattern, however, to avoid that slight vertical line effect.
So now you don’t have to hunt all over the web for just the right shade of silk, with the right license terms, because you can make your own in just a couple of minutes.
As always, every image in this tutorial can be downloaded and used in any way shape or form, since I’m releasing it under a CCo “public domain” license.
- OSCC 2024 Submission Deadline Approaching - October 19, 2024
- AvatarLife Viewer adds video calls, screen sharing - October 19, 2024
- Spooky season brings more visitors to OpenSim worlds - October 15, 2024


